Photo Guide
Better photos mean more accurate condition assessments. Here's what helps.
This is what we're looking for
One card, both sides, filling the frame on a dark background. Every tip below is visible in these two photos.
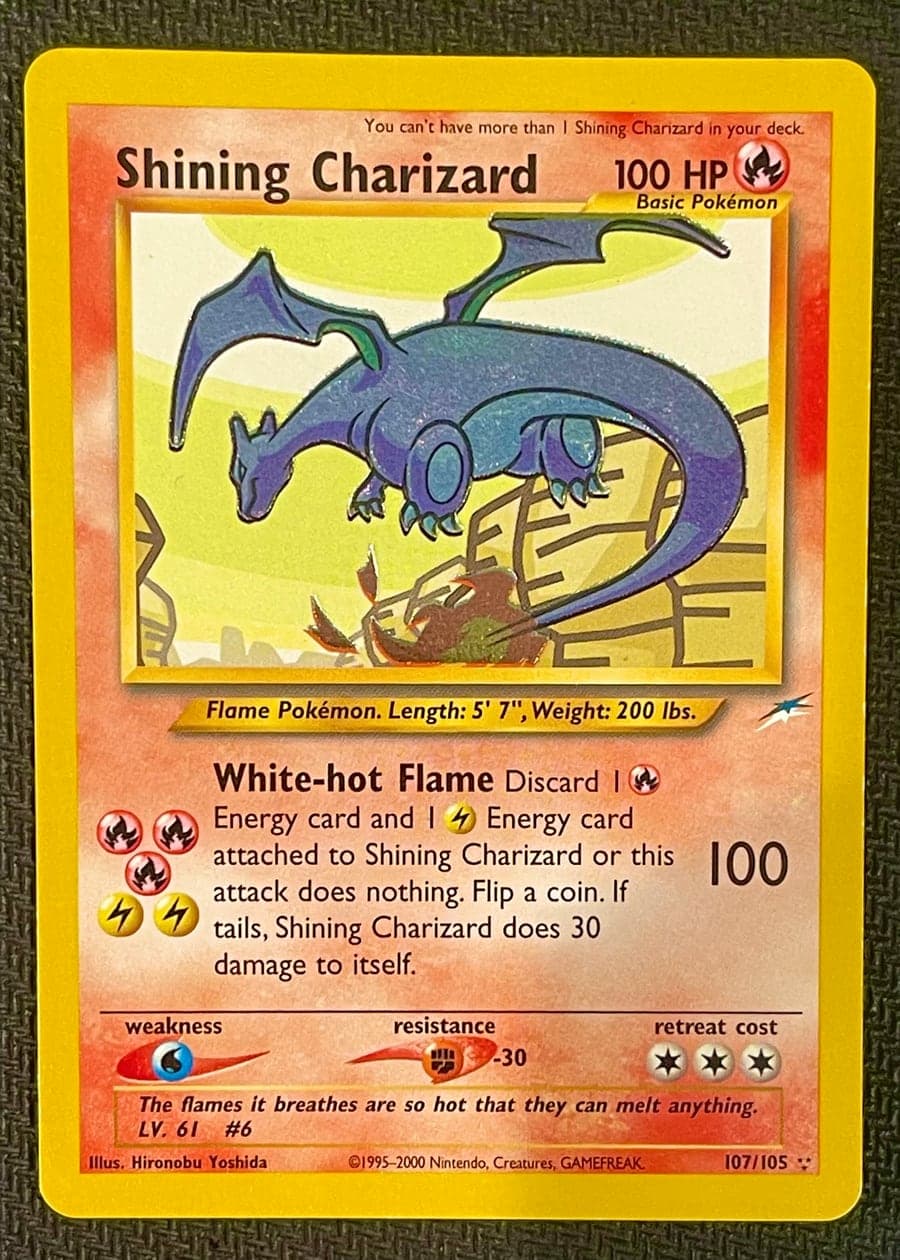

- Dark, non-reflective surface
- Card fills the frame, with a thin margin all round
- All four corners and edges inside the frame
- Even light, no flash glare
- Shot straight down, not at an angle
- Out of sleeves and toploaders where that’s safe
Use a dark background
Place cards on a black or dark surface. This creates contrast around the edges so we can see edge whitening, corner wear, and centering clearly.
Dark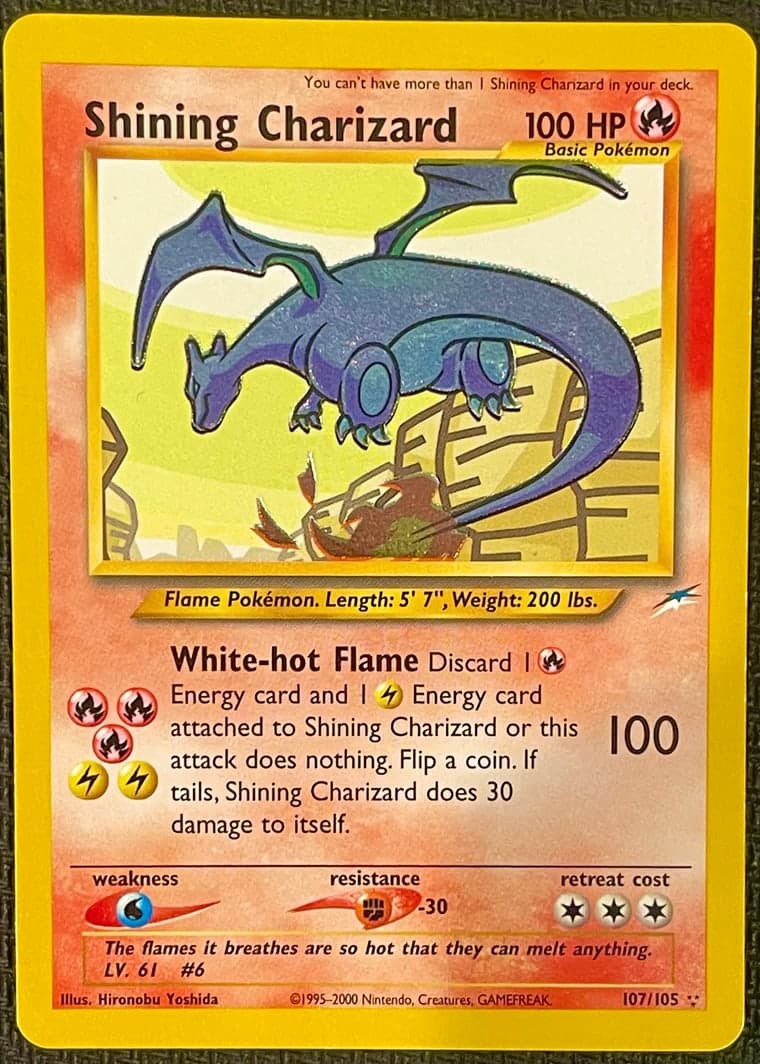
Good
- Black desk or table
- Dark fabric or felt
- Dark mousepad or playmat
Avoid
- White surfaces
- Patterned surfaces
- Binder pages
Get the lighting right
Use even, indirect lighting. Overhead room lights or natural daylight from a window work well. Avoid pointing a light directly at the card.
Even lightFlashSimulatedTips
Diffused natural light near a window is ideal
Bounce lamp light off a wall or ceiling
If you see glare on a holo, shift your angle
Common mistakes
Flash — creates harsh spots, especially on holos
Phone shadow — holding the phone directly over casts a shadow
Mixed light — warm lamp + cool daylight makes colors look off
Flat and straight
Lay cards flat and shoot from directly above. We need all four corners and edges visible to measure centering accurately.
Straight downWhole card Too closeReal submission
- Card is flat — not curled or resting on something uneven
- All four corners visible
- Camera directly above, not at an angle
- Some background visible around the card
Both sides matter
We need both front and back photos of every card. A front-only submission limits what we can tell you — and could mean the difference between a $50 valuation and a $500 one.
Front tells us
- Card identity — name, set, number
- Holo pattern and surface scratches
- Front centering (left/right, top/bottom borders)
- Creases, dents, or print defects on artwork
Back tells us
- Edge whitening and corner wear
- Back centering (often different from front)
- Staining, discoloration, or water damage
- Print lines, roller marks, and factory defects
Why this matters for grading
Grading companies like PSA and Beckett score cards on centering, corners, edges, and surface — and they evaluate both sides independently. A card with a perfect front but heavy edge whitening on the back won't grade well. Without back photos, we can't give you an accurate grade estimate or tell you whether grading is worth the investment.
Without back photos we can't
- Give an accurate condition grade estimate
- Recommend whether professional grading makes financial sense
- Identify shadowless or 1st edition variants (back design differences)
- Provide a reliable market value for raw or graded sales
Tips for back photos
- Flip cards in place so they stay in the same position as the front photo
- Use the same lighting setup for both sides
- Dark backgrounds are even more important on backs — edge whitening is white-on-blue and easy to miss on light surfaces
Keep it sharp
Make sure the photo is in focus. Tap the card on your phone screen before shooting. A blurry photo means we can't see scratches, print lines, or edge detail.
SharpOut of focusSimulatedBefore you submit, check
- Can you read the small text when you zoom in?
- Card edges clear against the background?
- No glare or shadows on the card?
Sleeves and toploaders
If you can, take cards out of sleeves — they add glare and hide surface detail. But don't risk damaging a card for a photo. A decent shot in a sleeve is better than a damaged card. Just let us know.
Bare cardSleevedSimulatedReady to submit?
A phone camera, a dark surface, and decent light. That's all you need.
Start Your Submission